
Protect Your Garden from pests with Garden Netting
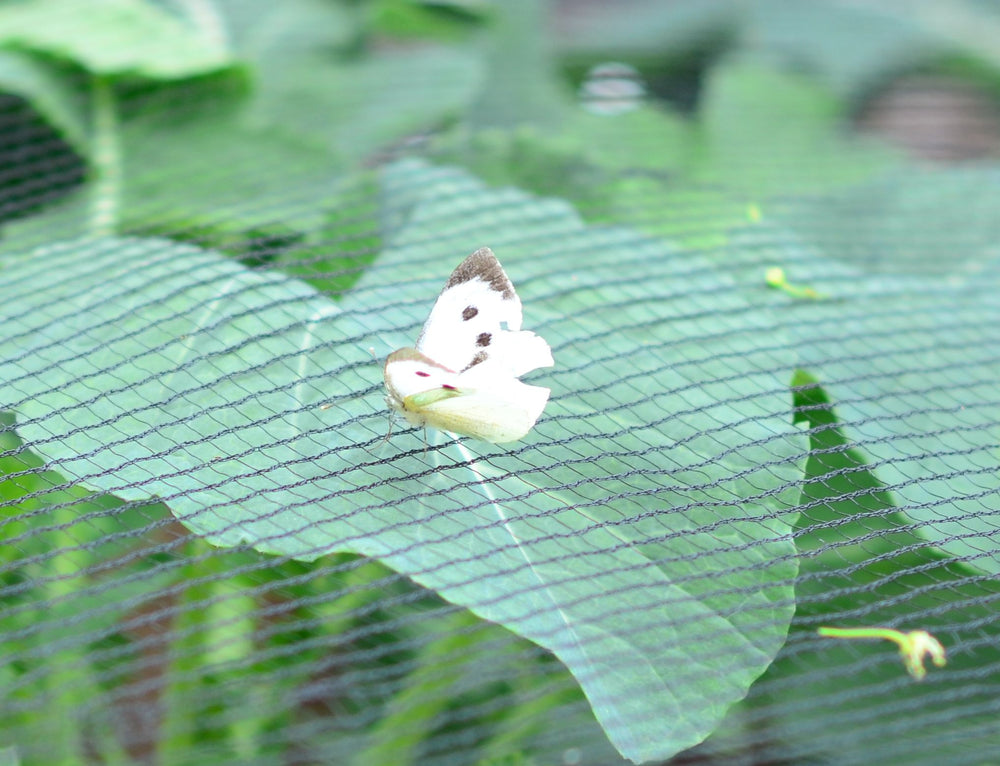
Safeguarding your garden from pesky birds, rabbits, or other critters doesn’t have to be a daunting task. Garden netting offers a simple yet effective solution. Let’s explore how to install it with ease.
Gather Your Supplies
Before you start, ensure you have the following:
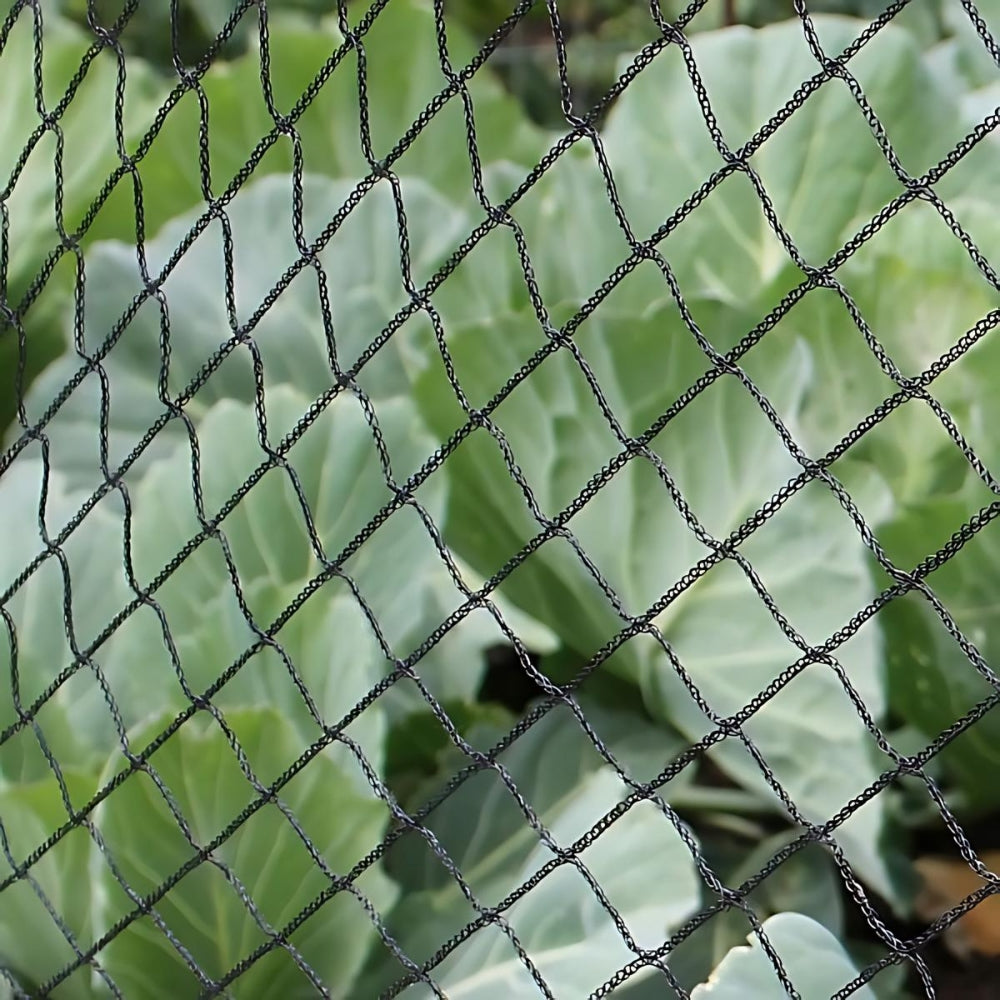
- Garden netting (choose the appropriate type based on your needs)
- Stakes or poles for support
- Cable ties or twine to secure the netting
- Measuring tape
Measure and Prepare
Begin by accurately measuring the area you want to protect. This will prevent wastage and ensure you have enough netting. Next, decide on your support system. Stakes are ideal for smaller areas, while poles offer more stability for larger spaces. Clear the area of any obstacles that might hinder the installation process.
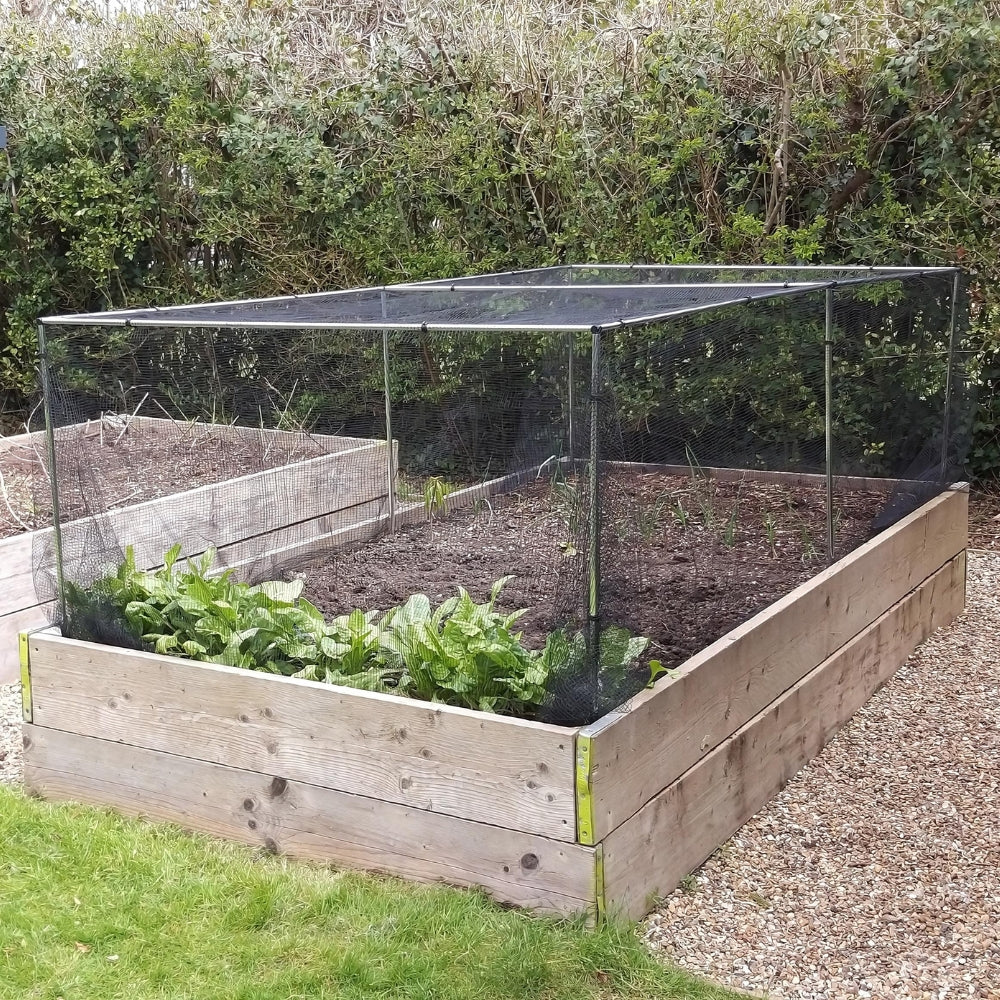
Installation Steps
- Set Up Your Support: Drive stakes or poles into the ground at regular intervals around the perimeter of your garden. Ensure they are firmly secured for optimal support.
- Cut and Drape: Measure and cut the netting to fit your garden, allowing for a slight overlap. Carefully drape the netting over the stakes or poles, ensuring complete coverage.
- Secure the Netting: Use cable ties or twine to fasten the netting securely to the supports. Maintain a balance between tightness and avoiding excessive stretching.
- Final Checks: Inspect the netting for any gaps or holes. Secure any weak points to prevent unwanted intruders.
Additional Tips
- For larger gardens or areas prone to strong winds, consider using thicker netting or additional support structures.
- If protecting delicate plants from frost, ensure the netting doesn't touch the foliage.
- Remove the netting when it's no longer needed to prevent harm to wildlife.
Anchoring Your Netting
Keep your netting in place by pinning it down with strong U‑shaped garden pins. Just push them through the netting edges into the soil to stop wind lifting or animals sneaking underneath. They're quick to use and work with fleece, mesh, or polythene covers.
By following these steps, you can effectively protect your garden and enjoy the fruits of your labour without constant worry.